|
 Rigid, Lightweight
ARMBOARD for Rigid, Lightweight
ARMBOARD for
Pink Triangle
Turntables
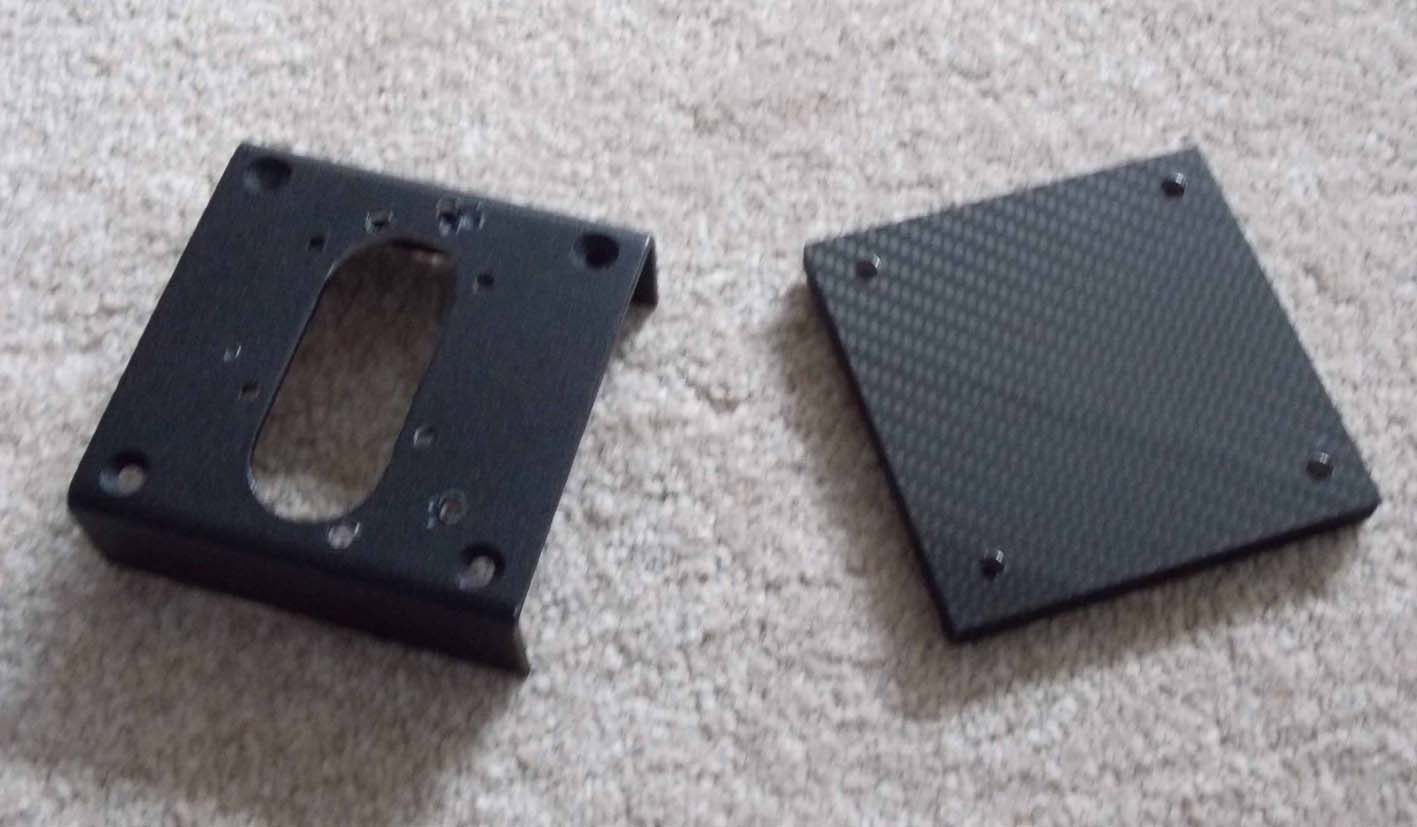
The armboard shown above on the left is the old type made
from aluminium sheet, the one on the right is the new, much improved type prior
to drilling the hole for the tonearm.
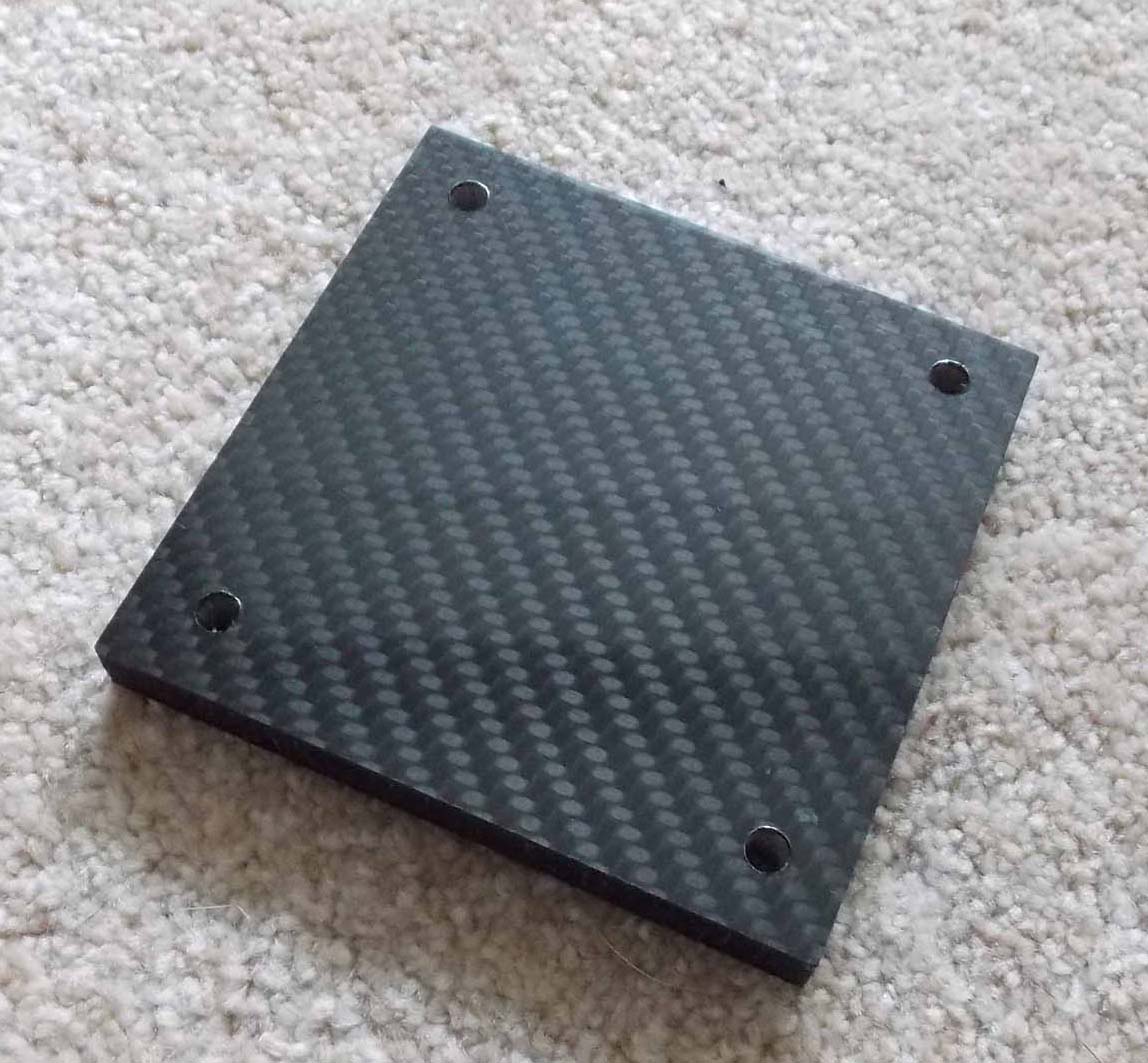
These attractive, lightweight armboards are
a specially constructed sandwich of carbon fibre sheet, foam and carbon fibre
sheet . The carbon fibre sheet gives it its rigidity and modern looks, while the
resin impregnated foam helps abate transient resonance. The armboard is pre drilled to fit
straight onto your Pink Triangle turntable. All that is required is the hole/s for
the tonearm which we can put in for you.
Technical Details
Quasi-Isotropic Layup
To create a more uniform distribution of strength, all our sheets are
manufactured using both layers of 0°/90° and 45°/-45° oriented reinforcement in
what is known as quasi-isotropic fibre orientation. Carbon fibre sheets using
this layup technique offer improved stiffness across their diagonal axis and
significantly improved torsional stiffness.
Laminate Composition
The matrix used is a high performance epoxy resin which offers excellent
mechanicals, clarity and improved UV stability. The high temperature cure
maximises the mechanical strength properties and results in a Tg (glass
transition) of 80°C.
To achieve maximum stability and flatness in the sheets, we used 'balanced'
laminates for all sheet thicknesses. This means that the fibre type, weight and
weave is symmetrical from the front to the back ply..
 |
Our Light weight Armboard kit consists
of: -
-
1
Carbon fibre composite armboard
-
1
Allen Key
-
4
Black spacer Tubes (white shown in photos for clarity).
-
4
Stainless steel M5 Button Head socket screws.
|
 |
Fitting Instructions:-
Ensure the
electrical supply to the turntable is switched off and the mains plug
plug removed from the electrical socket.
Carefully remove the tonearm and
original armboard.
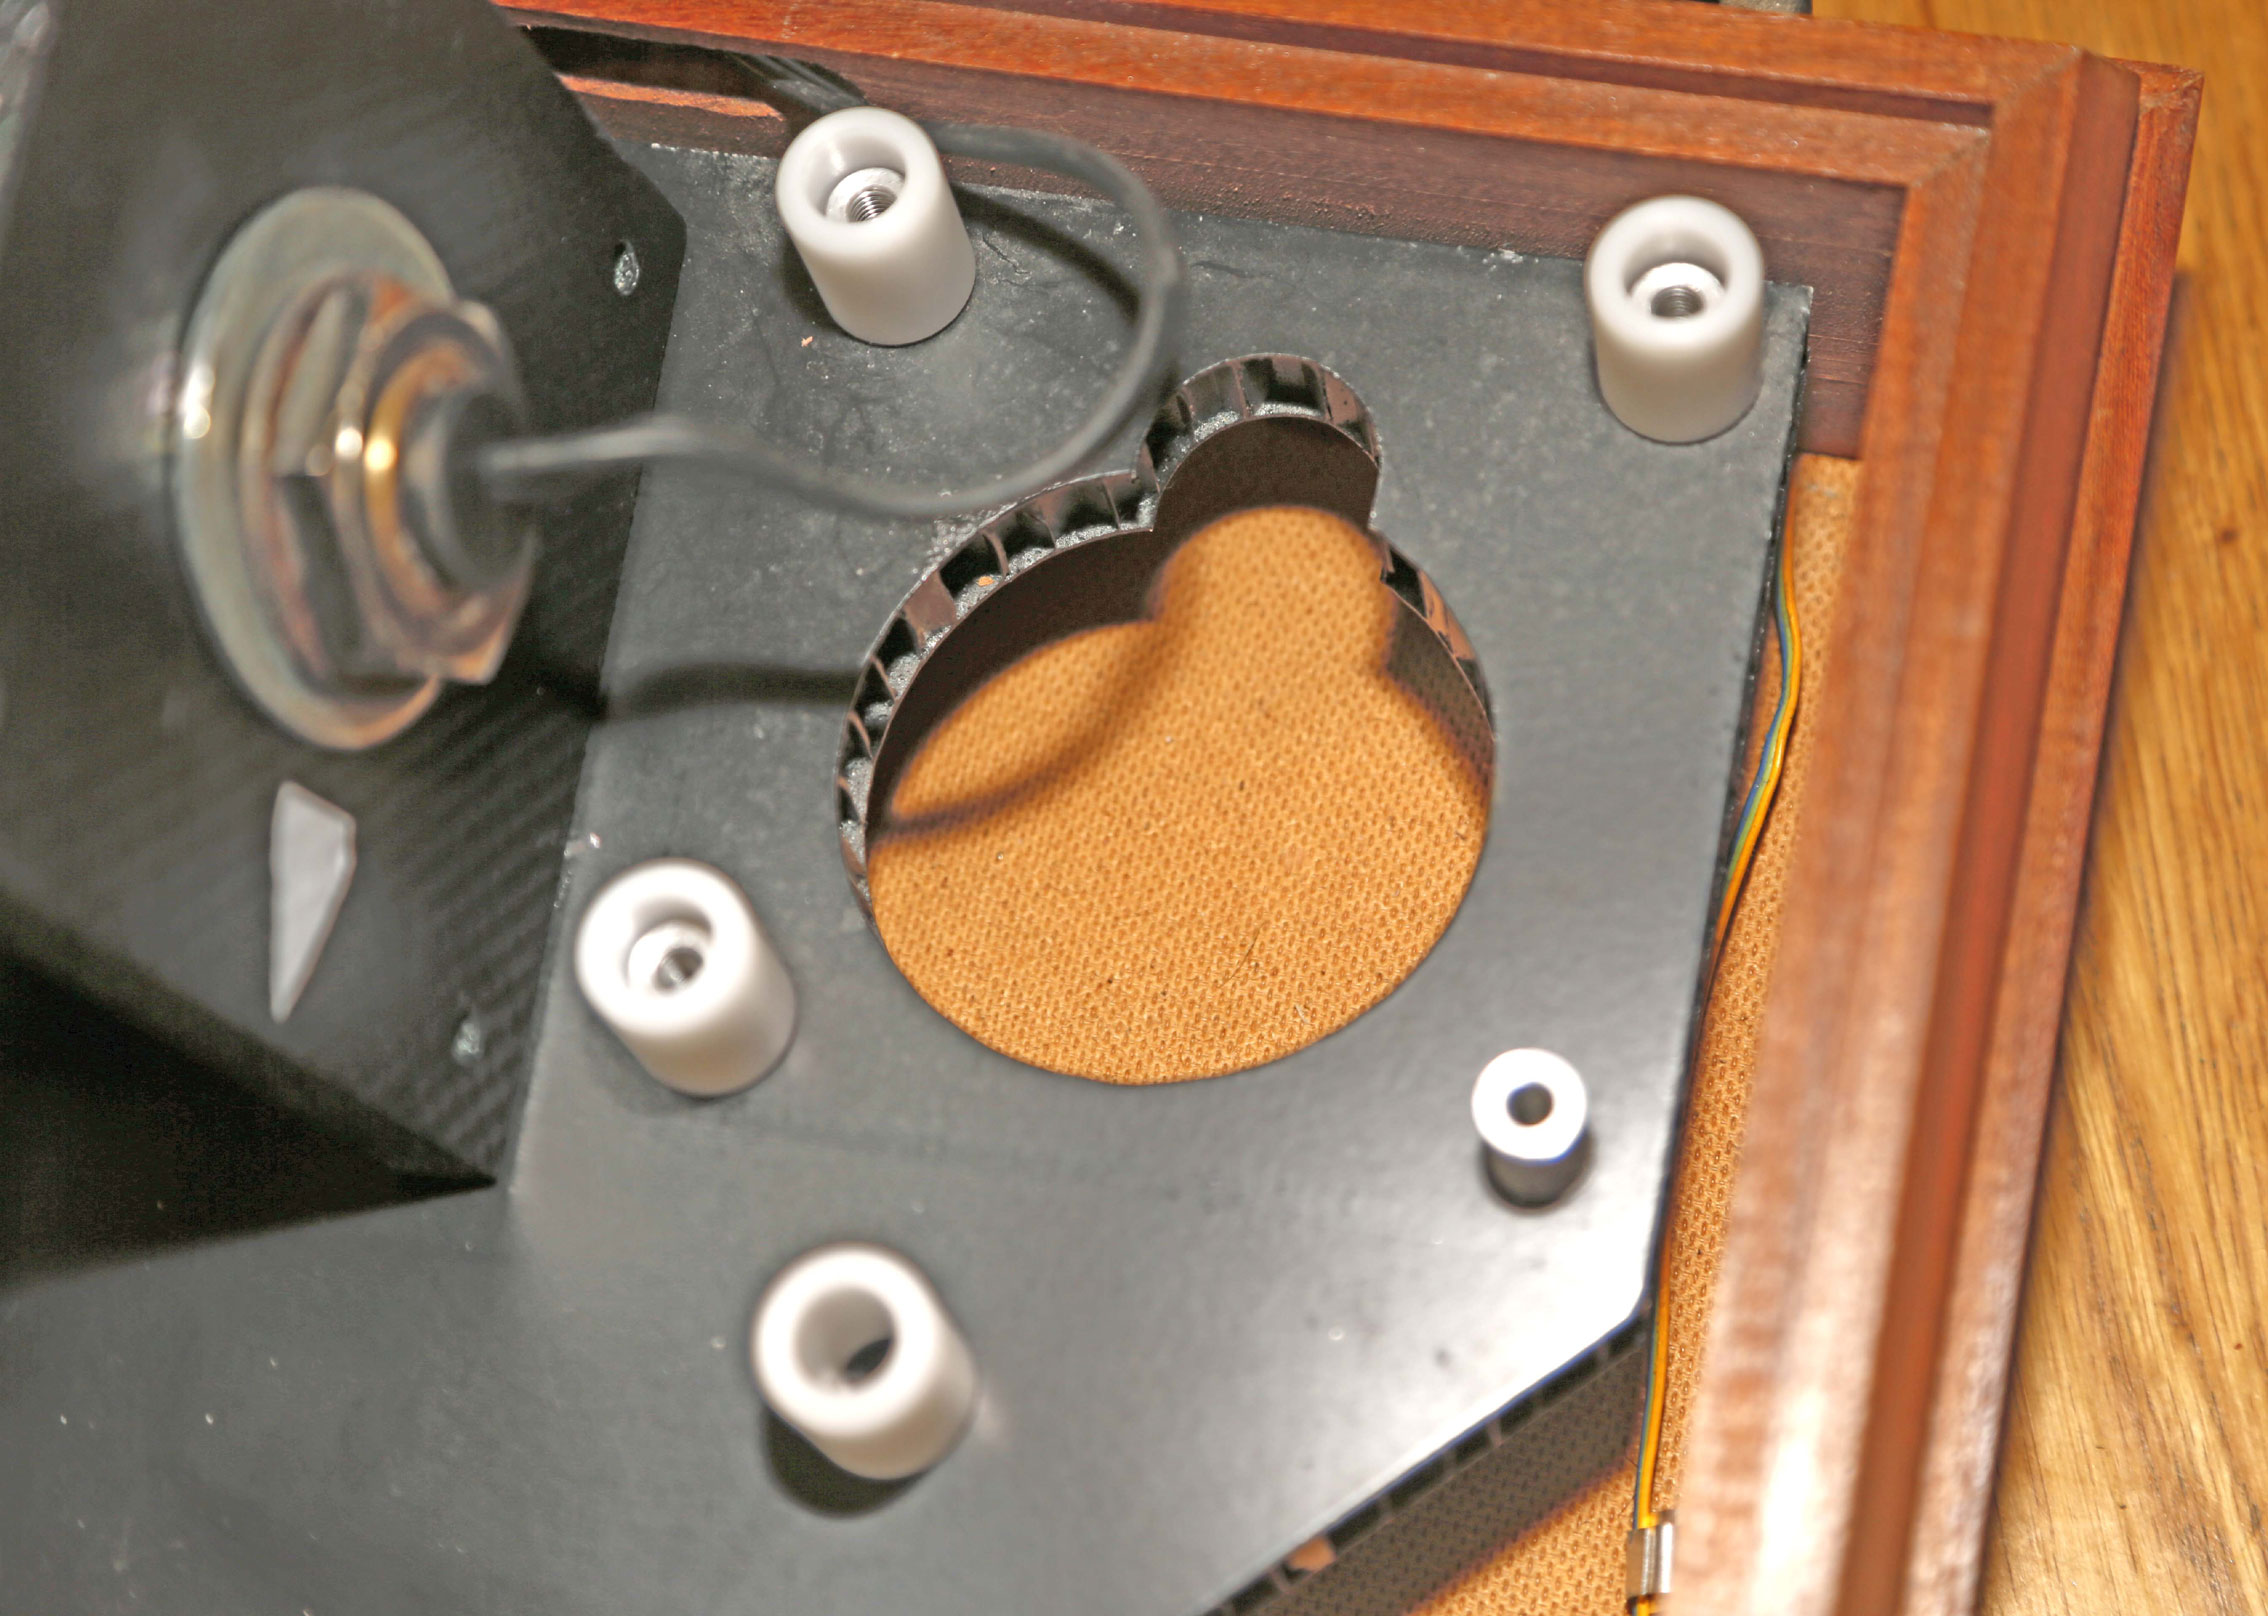
Place the plastic spacers over
the aluminium stand-off posts fitted on the sub-chassis as shown in the
photos.
The spacers
supplied have been made to set the top surface of the armboard to the
same height as the original armboard.
When fitting it, to make sure
the orientation is correct, there is a notch filed on the underside edge of
the armboard, this must face forward.
If you weigh your
existing armboard and compare its mass against the carbon fibre one,
then the difference in mass can be added to the carbon fibre
armboard using the stick on weights provided.
Finally,
when tightening the screws to secure the armboard to the
sub-chassis, do not over-tighten them otherwise you will dent the
armboard, they only need nipping up.
If you have any special
modifications needed concerning the base height of your tonearm, please
discuss this with us when enquiring.
|
|
 |
We have marked the underside
of the armboard with sticky tape to show which side faces to the front
of the turntable.
Assuming the armboard is drilled to take your type of tonearm and the
plastic spacers are in place, carefully
fit the tonearm to armboard.
If the armboard is not drilled,
care must be taken when drilling the hole\s to ensure the correct
spindle distance to the centre of the tonearm, and the hole\s size are
as per tonearm manufacturers recommendations. |
|
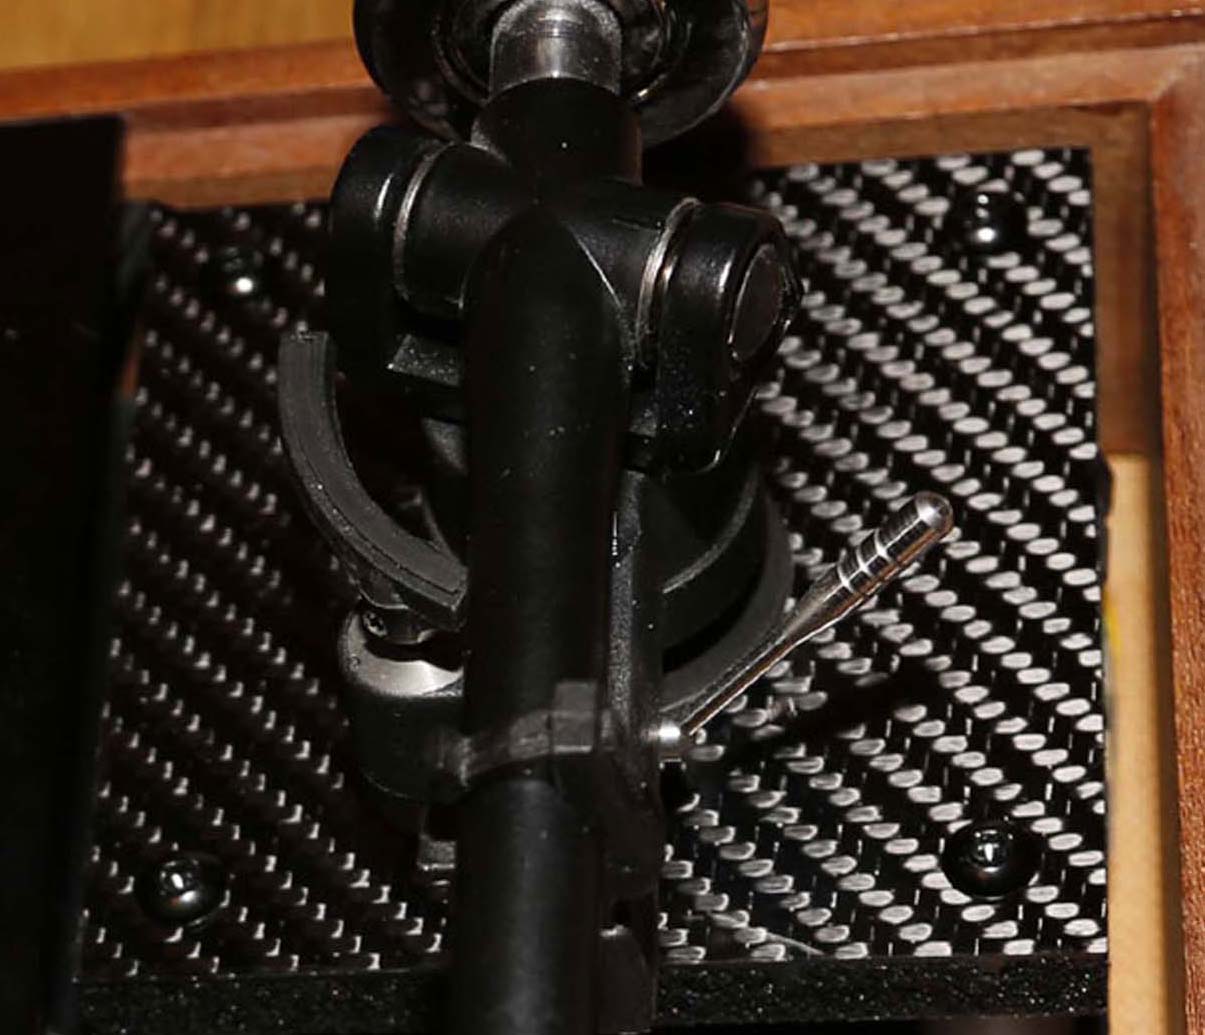 |
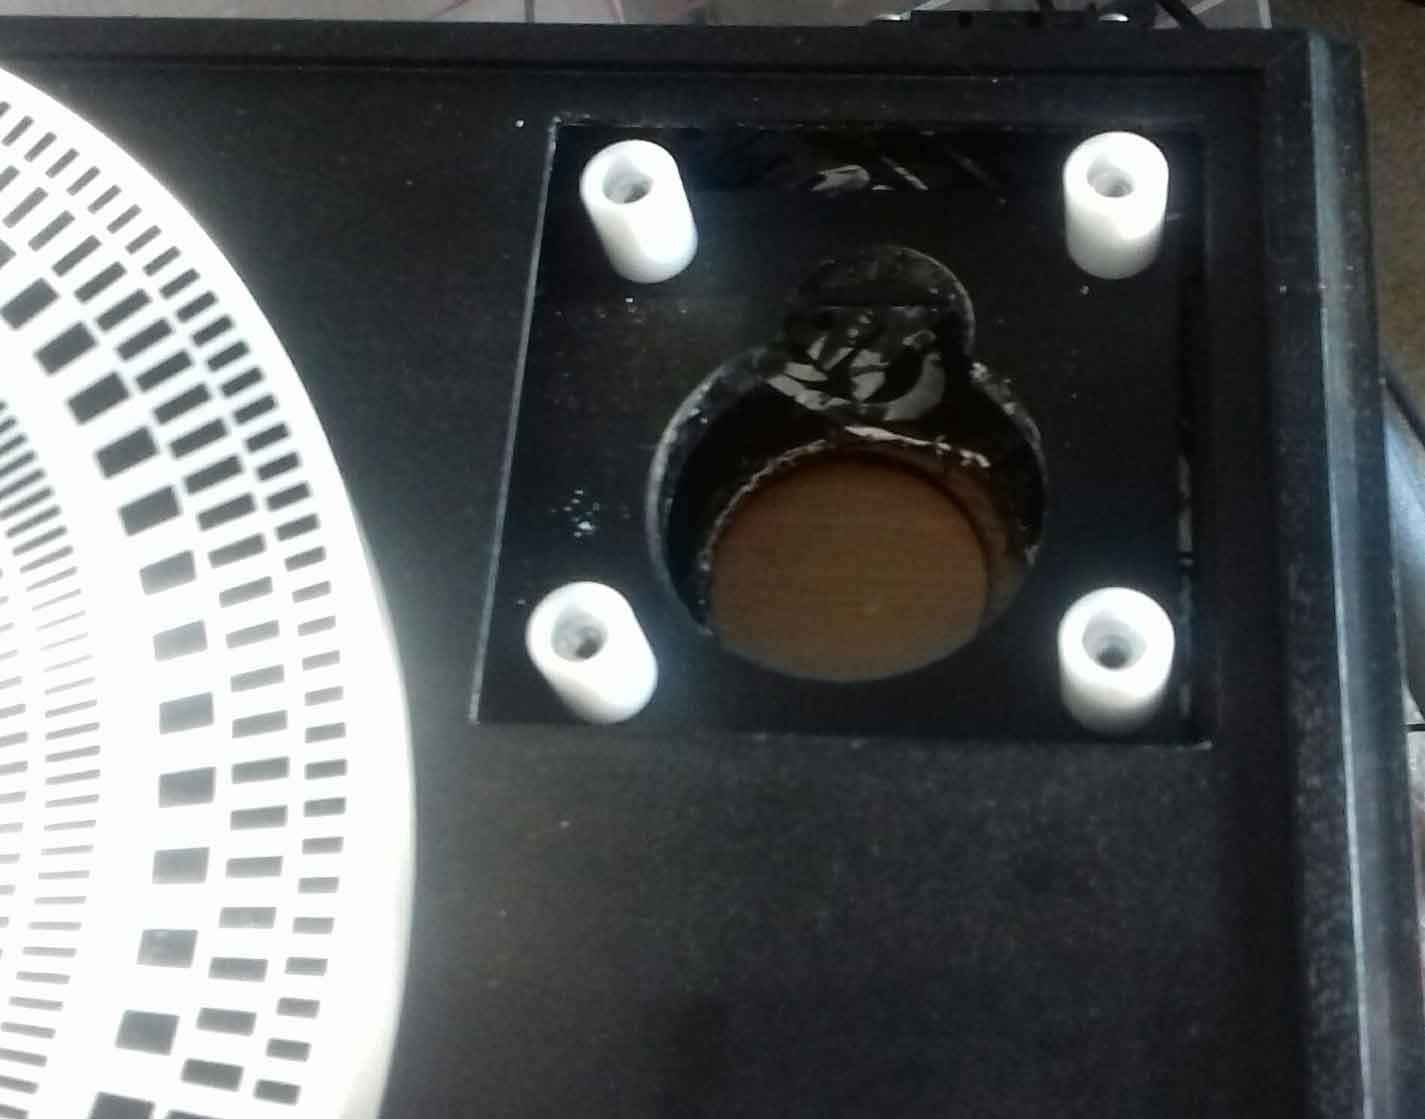
Using the black anodised
aluminium screws, fix the armboard onto the spacers as shown in the
photo.
It is only necessary to 'nip'
the screws up, do not over tighten them. An Allen key is supplied for
your convenience. |
|
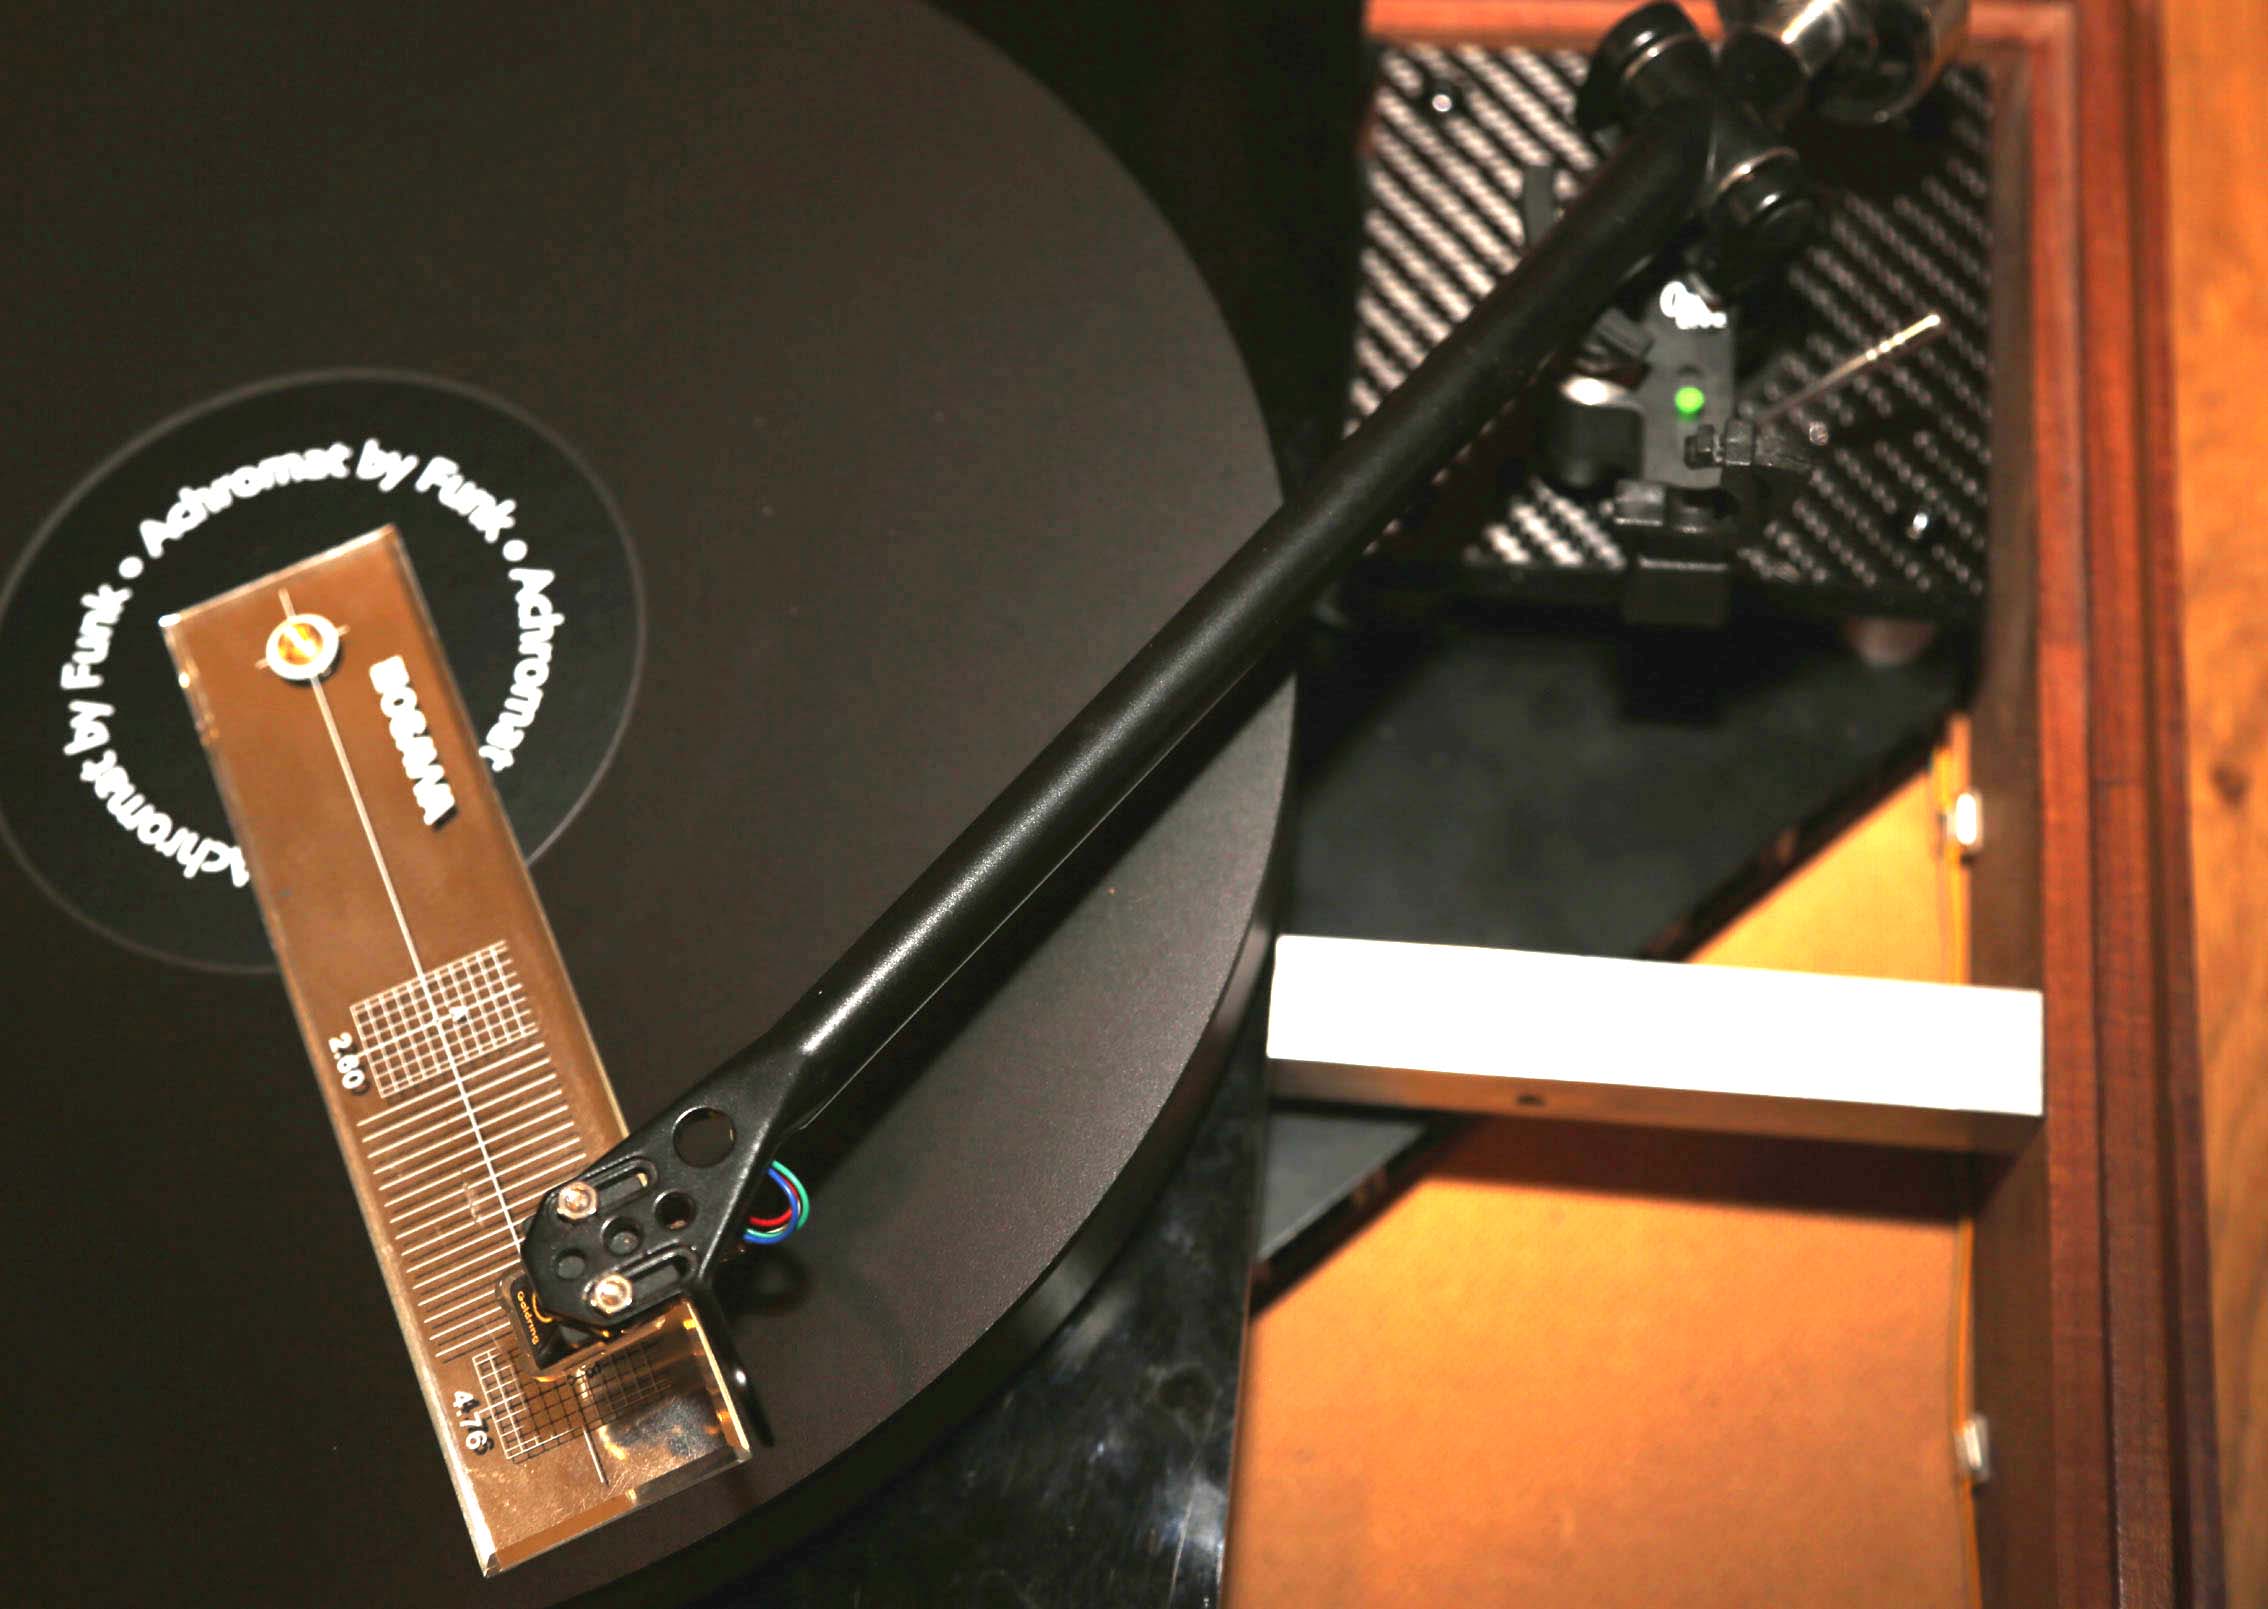 |
All done, now connect your
tonearm cable and check the VTA and cartridge alignment is correct. If
it is not, then adjust them as per the tonearm manufacturers
instructions.
Photo's courtesy of Darren Ladd |
|
|
All done, now sit back and
enjoy your music |
Please contact us for price and delivery.
Copyright © True
Point Audio Ltd
|